Are you tired of the same old wall decor? Looking to add a touch of elegance and sophistication to your living space? Well, look no further! In this guide, we will take you through the step-by-step process of creating stunning floating wood shelves that will not only enhance the aesthetics of your home but also provide functional storage solutions. Whether you are a seasoned DIY enthusiast or a beginner looking to tackle your first woodworking project, our comprehensive instructions and helpful tips will ensure your success in constructing these beautiful shelves.
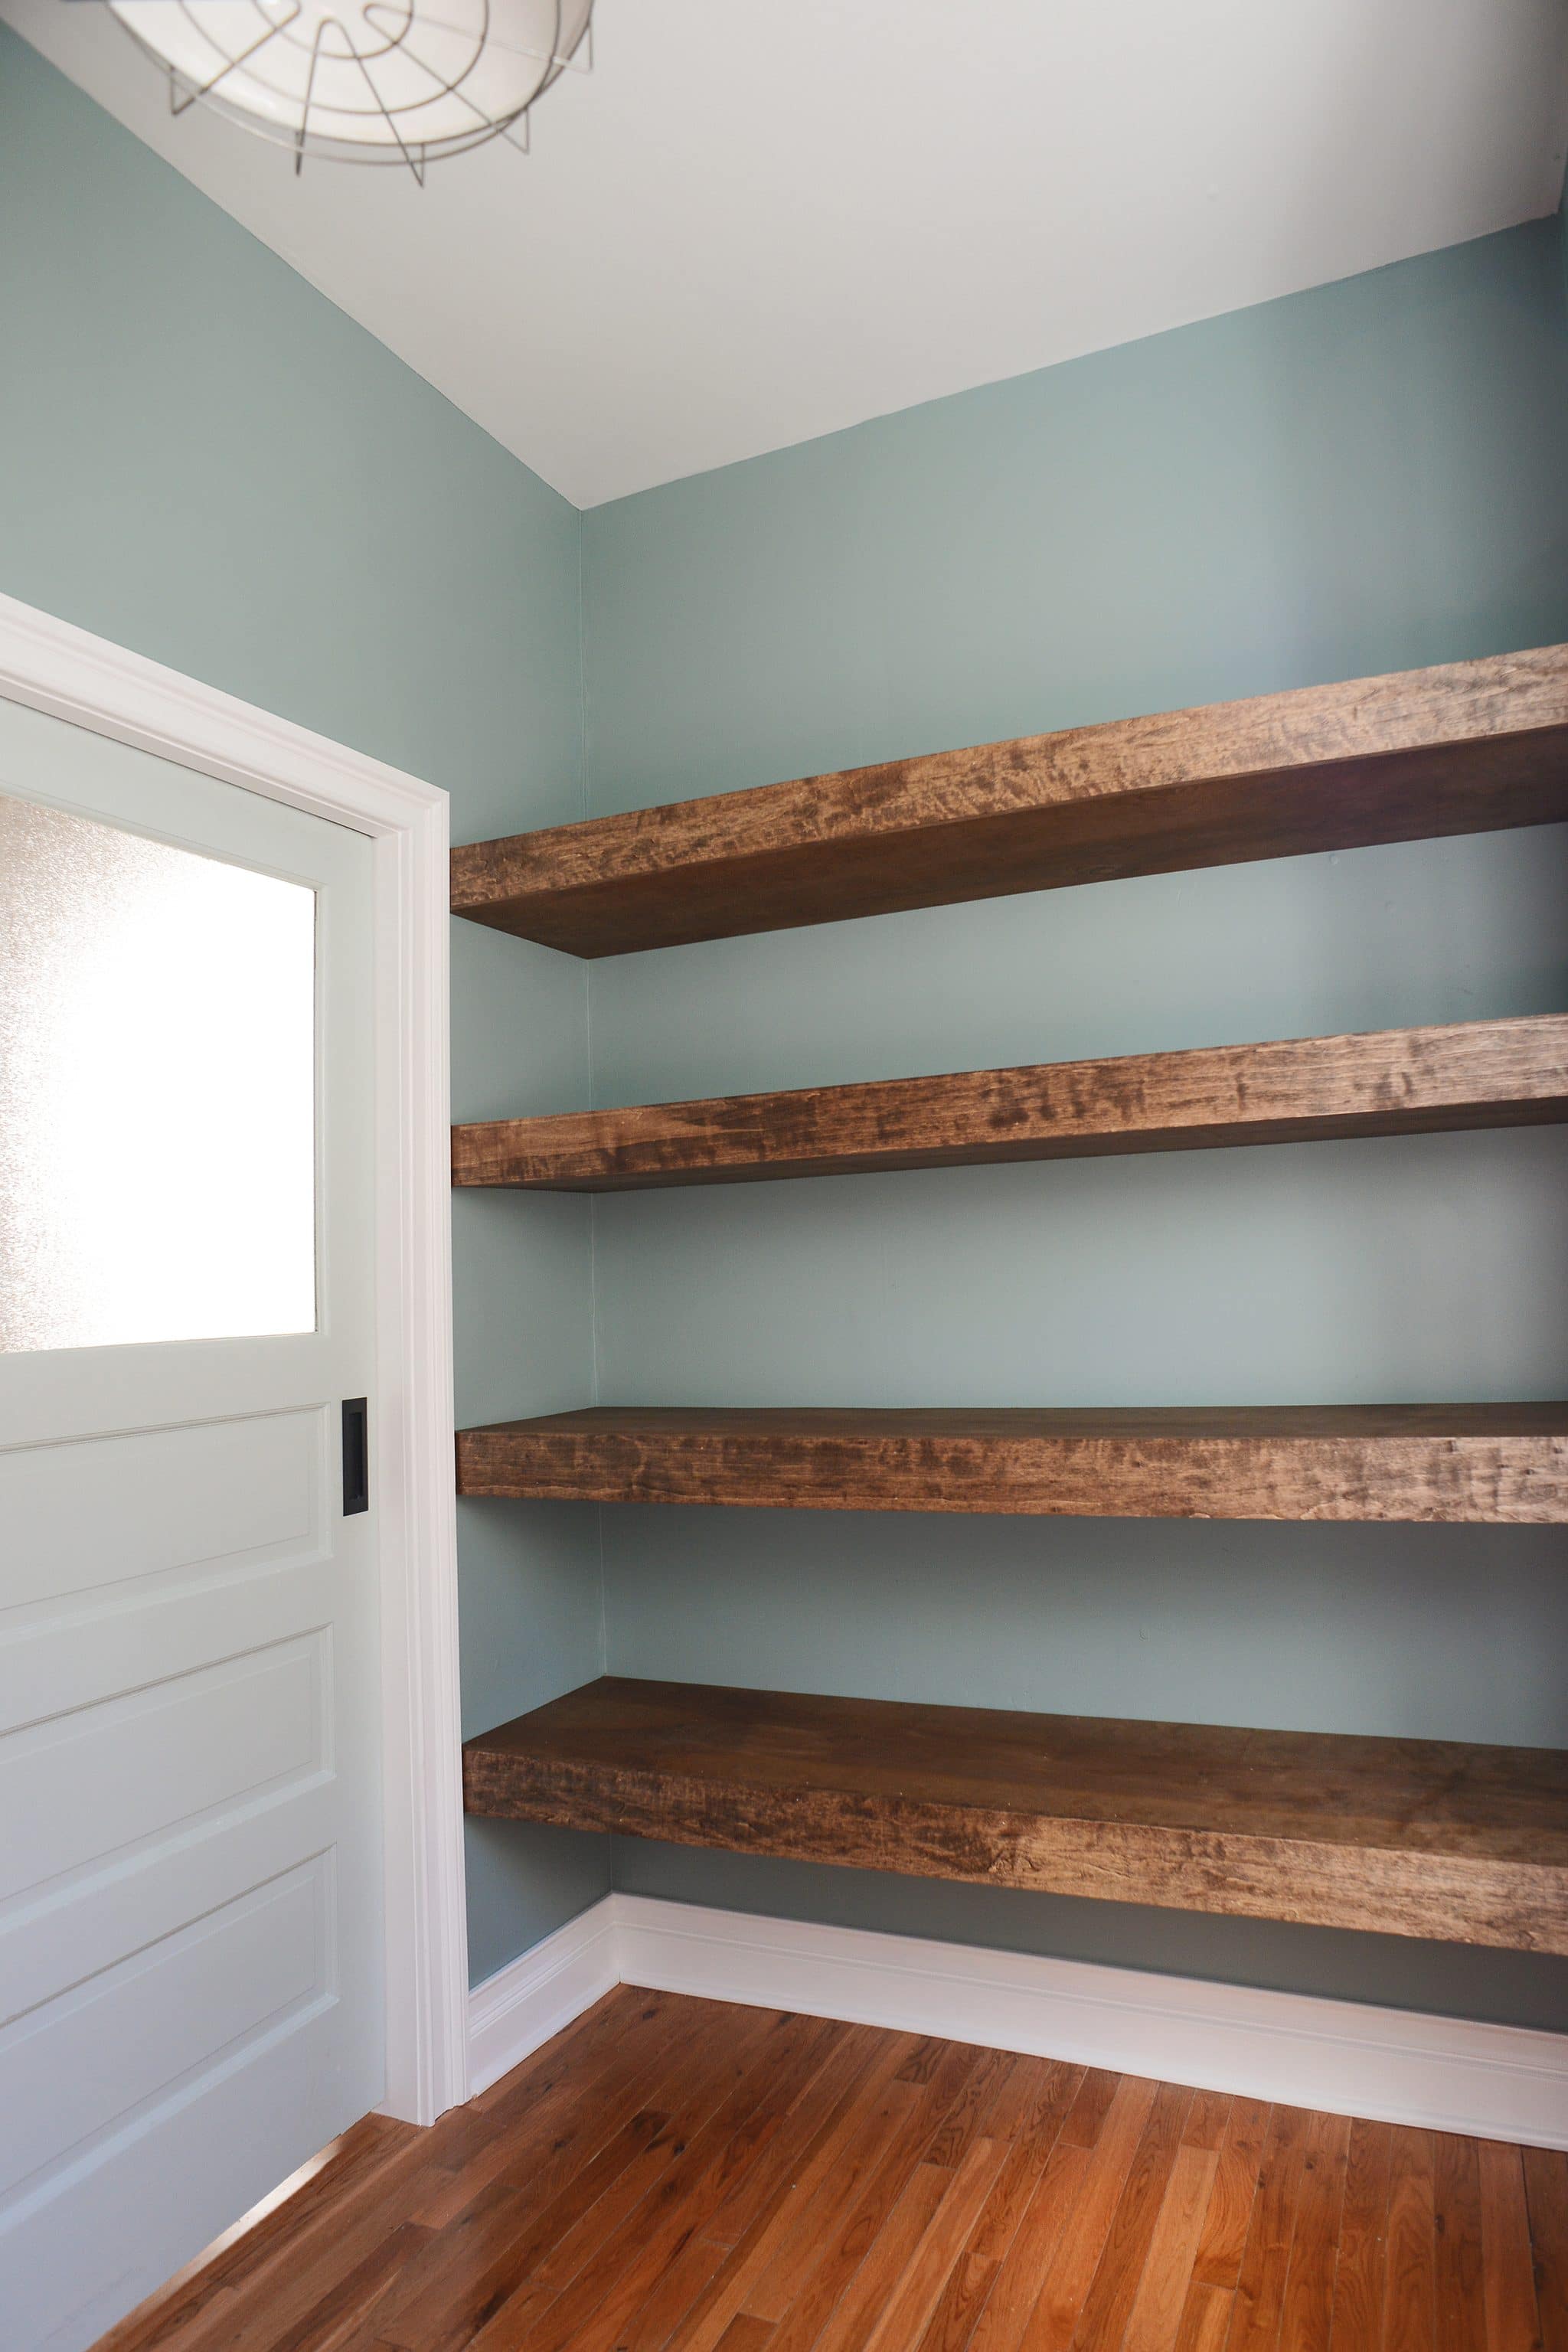
Floating wood shelves have gained immense popularity in recent years, and it’s no surprise why. They create an illusion of being magically suspended from the wall, adding a touch of modernity and minimalism to any room. Moreover, they offer a practical solution for displaying your favorite books, photos, and decorative items, while also saving precious floor space. So, if you are ready to embark on a rewarding journey of craftsmanship and creativity, let’s dive in and learn how to make these captivating floating wood shelves that will leave your guests in awe.
How to Make Floating Wood Shelves:
- Measure and cut the wood boards to desired shelf length.
- Sand the boards to smooth the edges and surface.
- Apply wood stain or paint for desired finish.
- Install floating shelf brackets on the wall.
- Attach the wood boards to the brackets.
- Secure the shelves by drilling screws into the brackets.
How to Make Floating Wood Shelves
Creating floating wood shelves is a great way to add both functionality and style to your living space. Whether you need extra storage or simply want to display your favorite decor items, these shelves are a versatile and attractive option. In this step-by-step guide, we will walk you through the process of making your own floating wood shelves.
Gather the Materials
The first step in making floating wood shelves is to gather all the necessary materials. You will need:
- Wooden planks (preferably hardwood) of the desired length and width for your shelves
- Wall brackets or shelf brackets
- L brackets for added support (optional)
- Drill
- Screws
- Level
- Tape measure
- Pencil
- Sanding paper
- Stain or paint (optional)
Once you have gathered all the materials, you can move on to the next step.
Measure and Mark
Start by measuring the desired length and height for your shelves on the wall where you plan to install them. Use a tape measure to ensure accurate measurements. Mark the positions of the brackets on the wall using a pencil.

Next, measure and mark the corresponding positions on the wooden planks. Make sure the marks align with the ones on the wall for a level and secure installation.
Attach the Wall Brackets
Using a drill, attach the wall brackets to the marked positions on the wall. Make sure to use the appropriate screws for your wall type (e.g., drywall screws for drywall). Use a level to ensure the brackets are straight and properly aligned.
If you want to add extra support, you can also attach L brackets to the underside of the wooden planks using screws.
Install the Shelves
Carefully place the wooden planks onto the installed wall brackets. Ensure they fit snugly and are level. Use a level to double-check their alignment.
If desired, you can finish the wood with stain or paint to match your decor style. Sand the edges and surfaces of the shelves for a smooth finish.
Enjoy Your Floating Wood Shelves
Once the shelves are securely installed, you can start arranging your items on them. The floating wood shelves provide an elegant and modern look while maximizing storage and display space in your home.
Remember to regularly check the stability of the shelves and make any necessary adjustments to ensure their longevity.
Additional Tips
Here are a few additional tips to keep in mind:
- Use high-quality wood for durability and strength.
- Consider the weight capacity of the brackets and choose accordingly.
- Measure twice and cut once to avoid any mistakes.
- Ensure the brackets are securely attached to the wall studs for maximum stability.
- If you’re unsure about any step, consult a professional or seek guidance from experienced DIY enthusiasts.
With these step-by-step instructions, you can easily create your own floating wood shelves and enhance the aesthetic appeal of your living space. Enjoy your new stylish and functional storage solution!
Frequently Asked Questions
Here are some commonly asked questions about how to make floating wood shelves.
Question 1: What materials do I need to make floating wood shelves?
To make floating wood shelves, you will need the following materials:
– 1-inch thick wood boards
– Wall brackets or floating shelf brackets
– Screws or nails
– Level
– Measuring tape
– Drill
– Sandpaper
– Stain or paint (optional)
These materials will ensure a sturdy and visually appealing floating wood shelf.
Question 2: How do I determine the proper placement of the floating wood shelves?
The proper placement of your floating wood shelves will depend on the specific area and purpose. However, here are some general tips:
1. Measure the desired height of the shelves from the floor or other fixed objects in the room.
2. Use a level to ensure the shelves will be straight.
3. Consider the weight capacity of the brackets you are using and distribute the shelves accordingly for balance.
4. Take into account any obstructions on the wall, such as electrical outlets or switches.
By following these guidelines, you can determine the optimal placement for your floating wood shelves.
Question 3: How do I install the floating wood shelves?
Installing floating wood shelves involves the following steps:
1. Measure and mark the desired placement of the shelves on the wall.
2. Attach the brackets to the wall using screws or nails. Make sure they are level and secure.
3. Place the wood board on top of the brackets and adjust for alignment.
4. Secure the wood board to the brackets using screws or nails.
5. Use a level to ensure the shelf is straight.
By following these steps, you can successfully install your floating wood shelves.
Question 4: How do I ensure the floating wood shelves are sturdy?
To ensure the stability and sturdiness of your floating wood shelves, consider the following:
1. Choose high-quality wood boards that can support the weight of the items you intend to place on the shelves.
2. Use strong and durable brackets that are designed for floating shelves.
3. Securely attach the brackets to the wall studs or use wall anchors for added support.
4. Double-check that the shelves are level and properly aligned.
5. Avoid placing excessively heavy items on the shelves to prevent strain on the brackets.
By following these measures, you can ensure that your floating wood shelves will be sturdy and reliable.
Question 5: Can I customize the appearance of the floating wood shelves?
Yes, you can customize the appearance of your floating wood shelves to suit your style and preferences. Here are a few options:
1. Sand and stain the wood to achieve a natural, rustic look.
2. Paint the wood in a color that complements your room’s decor.
3. Add decorative trim or molding to the front edges of the shelves.
4. Use different types of wood or finishes to create a unique visual effect.
By customizing the appearance of your floating wood shelves, you can enhance their overall aesthetic appeal.
Easy DIY FLOATING SHELVES No bracket | DIY CREATORS
In conclusion, learning how to make floating wood shelves can be a rewarding and fulfilling project for any DIY enthusiast. By following the step-by-step instructions and taking the time to select quality materials, you can create beautiful and functional shelves that will enhance the aesthetics of any room. These shelves not only provide additional storage space but also add a touch of elegance and sophistication to your home.
Furthermore, the process of making floating wood shelves allows you to showcase your creativity and personalize your living space. Whether you choose to stain the wood, add decorative trim, or experiment with different shapes and sizes, the possibilities are endless. With each completed shelf, you will gain a sense of accomplishment and satisfaction, knowing that you have created something both practical and visually appealing.
By embarking on this DIY project, you not only save money but also acquire valuable skills that can be applied to future woodworking endeavors. So, why not start today? With a little patience and dedication, you can transform a simple piece of wood into a stunning floating shelf that will become a focal point in your home.
- How to Frame a Wooden Jigsaw Puzzle - May 12, 2024
- How to Glue a Wooden Jigsaw Puzzle - May 12, 2024
- How to Decoupage Wood - May 12, 2024