Are you a DIY enthusiast looking to add a touch of rustic charm to your home? Or perhaps you’re a woodworking novice eager to embark on a new project? If so, you’ve come to the right place! In this guide, we will take you through the step-by-step process of making a wood box, a versatile and stylish addition to any space. Whether you’re a seasoned craftsman or a complete beginner, this tutorial is designed to help you create a functional and visually appealing wooden box that you can proudly display or gift to your loved ones.
Woodworking has long been revered as a timeless craft, allowing individuals to tap into their creativity while working with natural materials. Making a wood box not only provides a practical storage solution but also serves as an opportunity to explore your artistic side. From selecting the right type of wood to mastering essential techniques such as measuring, cutting, and assembling, this guide will equip you with the knowledge and skills needed to bring your wooden box to life. So, grab your tools, roll up your sleeves, and let’s dive into the fascinating world of woodworking as we embark on this rewarding journey of creating a beautiful wood box together.
How to make a wood box:
- Measure and cut the wood pieces according to your desired box size.
- Use a saw to trim the edges and sandpaper to smooth them.
- Apply wood glue to the edges and join the pieces together.
- Secure the corners with nails or screws.
- Add a bottom piece and secure it in place.
- Finish the box with stain or paint as desired.

How to Make a Wood Box – Step-by-Step Guide
In this article, we will guide you through the process of making a wood box. Whether you need a storage solution or a stylish container for your belongings, a wood box can be a great choice. With a few materials and tools, along with some basic woodworking skills, you can create a customized wood box that suits your needs. Follow the step-by-step instructions below to make your own wood box.
Step 1: Gather the Materials and Tools
The first step in making a wood box is to gather all the necessary materials and tools. Here’s a list of what you’ll need:
- Wood boards – Choose the type of wood that suits your preference and intended use.
- Saw – A table saw or a circular saw will be needed to cut the wood boards to the desired size.
- Sandpaper – Use sandpaper to smoothen the edges and surfaces of the wood.
- Measuring tape – Accurate measurements are crucial for a well-constructed wood box.
- Wood glue – A strong wood glue will be used to join the different parts of the box.
- Clamps – Clamps will help hold the wood pieces together while the glue dries.
- Nails or screws – Depending on your preference, you can use either nails or screws to reinforce the box.
- Hammer or screwdriver – Use a hammer or screwdriver to insert the nails or screws.
- Paint or stain – If you want to add a finishing touch to your wood box, you can use paint or stain.
- Brushes – Brushes will be needed to apply the paint or stain evenly.
Make sure you have all the required materials and tools before proceeding to the next step.
Step 2: Measure and Cut the Wood
Once you have gathered all the materials and tools, it’s time to measure and cut the wood boards for your box. Start by deciding on the dimensions of your box. Use a measuring tape to measure and mark the desired lengths on the wood boards. Then, using a saw, carefully cut the boards according to your measurements.

After cutting the boards, use sandpaper to smoothen the edges and surfaces. This will ensure a clean and polished look for your wood box. Take your time and pay attention to detail while sanding to achieve the best results.
Now that you have the wood boards cut to size and sanded, you’re ready to move on to the next step.
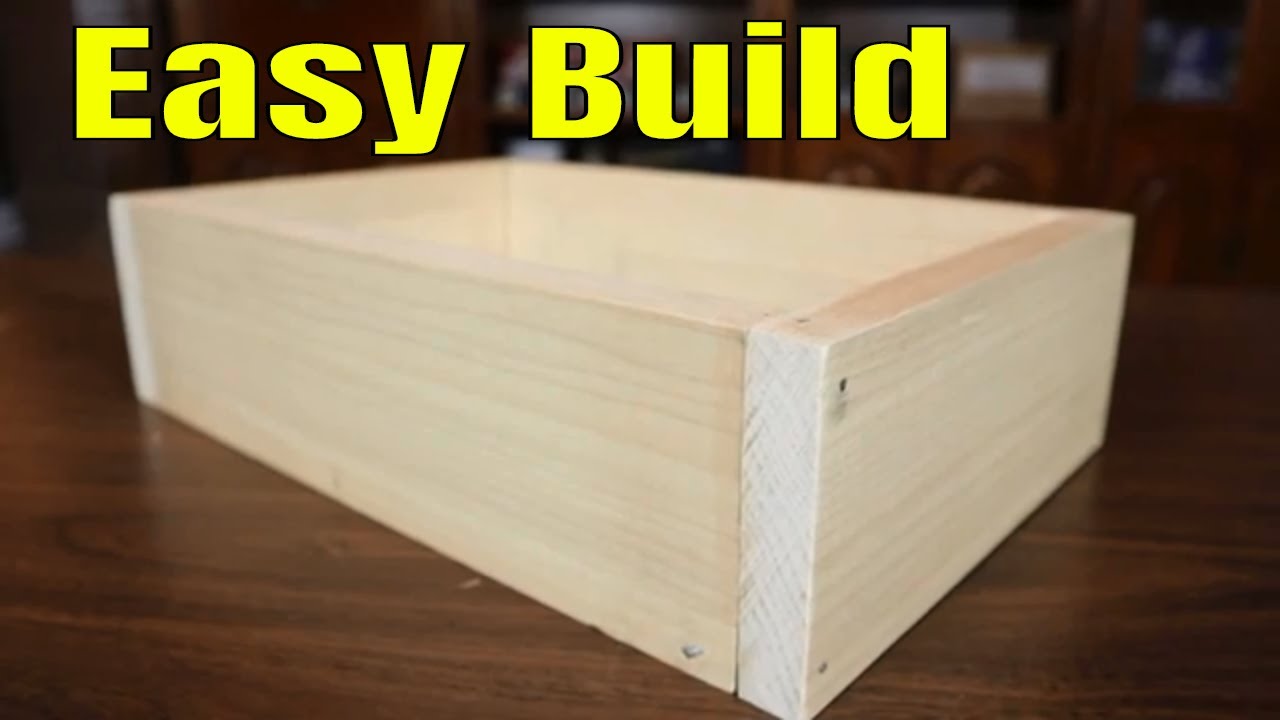
Step 3: Assemble the Wood Box
With the cut and sanded wood boards prepared, it’s time to assemble the wood box. Apply wood glue to the edges of the boards and join them together to form the sides of the box. Use clamps to hold the pieces in place while the glue dries.
In addition to the glue, you can reinforce the box by inserting nails or screws through the boards. This will provide extra stability and strength to your wood box. Use a hammer or screwdriver, depending on your choice of fasteners, to secure the nails or screws in place.
Once the glue has dried and the nails or screws are in place, remove the clamps and check the integrity of the wood box. Make any necessary adjustments or fixes before moving on to the final step.
Step 4: Finishing Touches
The last step in making a wood box is to add any finishing touches you desire. If you want to enhance the appearance of your box, you can apply paint or stain. Use brushes to evenly apply the paint or stain, and let it dry according to the manufacturer’s instructions.
Remember that paint or stain not only adds beauty but also protects the wood from moisture and wear. Consider choosing a finish that complements your style and the intended use of the wood box.
Once the paint or stain has dried, your wood box is ready to be used. You can now store your belongings or display your wood box proudly, knowing that you made it yourself!
That concludes our step-by-step guide on how to make a wood box. We hope you found this article informative and helpful. Enjoy your woodworking project!
Frequently Asked Questions
Here are some common questions about how to make a wood box:
Question 1: What materials do I need to make a wood box?
To make a wood box, you will need the following materials:
– Wood boards or plywood
– Measuring tape
– Saw
– Sandpaper
– Wood glue
– Clamps
– Nails or screws
– Hammer or screwdriver
– Wood stain or paint (optional)
Question 2: How do I measure and cut the wood for the box?
Start by measuring the dimensions you want for your wood box. Use a measuring tape to measure the length, width, and height. Mark the measurements on the wood boards or plywood. Make sure to account for the thickness of the wood when measuring. Once you have marked the measurements, use a saw to cut the wood along the marked lines. Take your time and make precise cuts.
For more complex designs, such as angled cuts or mitered corners, you may need additional tools like a miter saw or a table saw.
Question 3: How do I assemble the wood box?
Before assembling the wood box, make sure all the cut pieces fit together properly. Use sandpaper to smooth any rough edges or surfaces. Apply wood glue to the edges of the wood pieces that will be joined together. Use clamps to hold the pieces in place while the glue dries. If desired, you can also reinforce the joints with nails or screws for extra stability. Allow the glue to dry completely before removing the clamps.
Remember to follow the specific instructions provided by the wood glue manufacturer for the best results.
Question 4: How do I finish the wood box?
Once the wood box is assembled and the glue is completely dry, you can choose to finish it with stain or paint. Apply the stain or paint according to the manufacturer’s instructions. Use a brush or a cloth to evenly coat the wood surfaces. Allow the finish to dry completely before using or handling the wood box. This step is optional, but it can enhance the appearance and durability of the box.
If you decide to use a wood stain, consider applying a clear coat or varnish to protect the wood and give it a glossy finish.
Question 5: Any tips for beginners?
For beginners, it’s important to start with a simple wood box design. This will help you get familiar with the basic woodworking techniques and build your confidence. Take your time during the measuring and cutting process to ensure accurate results. Always prioritize safety by wearing protective gear, such as safety goggles and gloves. Additionally, seek guidance from experienced woodworkers or consult online tutorials for step-by-step instructions.
Remember, practice makes perfect, so don’t get discouraged if your first wood box doesn’t turn out exactly as planned. Keep learning and experimenting, and you’ll soon master the art of making wood boxes.
How to make a basic box. And why you need to know how. | Woodworking BASICS.
In conclusion, mastering the art of crafting a wood box is a rewarding journey that not only enhances your skill set but also allows you to create unique and functional pieces. By following the step-by-step instructions outlined in this guide, you can confidently embark on your woodworking adventure. Remember to choose the right type of wood for your project, measure meticulously, and employ precise cutting techniques to achieve a professional-looking finish. Don’t be afraid to experiment with different designs and embellishments to add a personal touch to your wood boxes. With patience, practice, and a genuine passion for woodworking, you can create beautiful and enduring pieces that will be cherished for years to come.
Furthermore, learning how to make a wood box opens up a world of possibilities for both practical and artistic endeavors. Not only can you create storage solutions for your home or office, but you can also delve into the realm of decorative wood boxes that make perfect gifts for loved ones. The skills acquired through this process extend beyond woodworking; they encompass patience, problem-solving, and creativity. As you refine your abilities, you may find yourself branching out into more complex projects, such as furniture making or even designing your own woodworking creations. Embrace the satisfaction that comes from working with your hands and the joy that arises from seeing your ideas come to life in the form of a beautifully crafted wood box.
- How to Frame a Wooden Jigsaw Puzzle - May 12, 2024
- How to Glue a Wooden Jigsaw Puzzle - May 12, 2024
- How to Decoupage Wood - May 12, 2024