Are you looking to add a touch of rustic charm to your home decor? Or perhaps you have a beautiful piece of artwork that deserves a frame as unique as itself? Look no further than the art of crafting a wood frame. In this guide, we will take you through the step-by-step process of creating a stunning wood frame that will not only enhance your artwork but also showcase your craftsmanship.
Wood frames have long been a staple in the world of framing, known for their timeless appeal and ability to seamlessly blend with any style or design. Whether you are a DIY enthusiast or a professional artist, learning how to make a wood frame is a valuable skill that can elevate your creative projects to new heights. From selecting the right type of wood to mastering the art of joinery, we will provide you with all the essential techniques and tips you need to create a sturdy and visually appealing frame. So, roll up your sleeves, grab your tools, and let’s embark on a journey into the world of woodworking as we uncover the secrets to crafting a wood frame that will stand the test of time.
- Measure and cut the wood to the desired frame size.
- Join the wood pieces together using wood glue and clamps.
- Sand the frame to smooth out any rough edges.
- Apply a wood finish or paint to enhance the frame’s appearance.
- Attach a picture hanger or wire to the back of the frame for hanging.
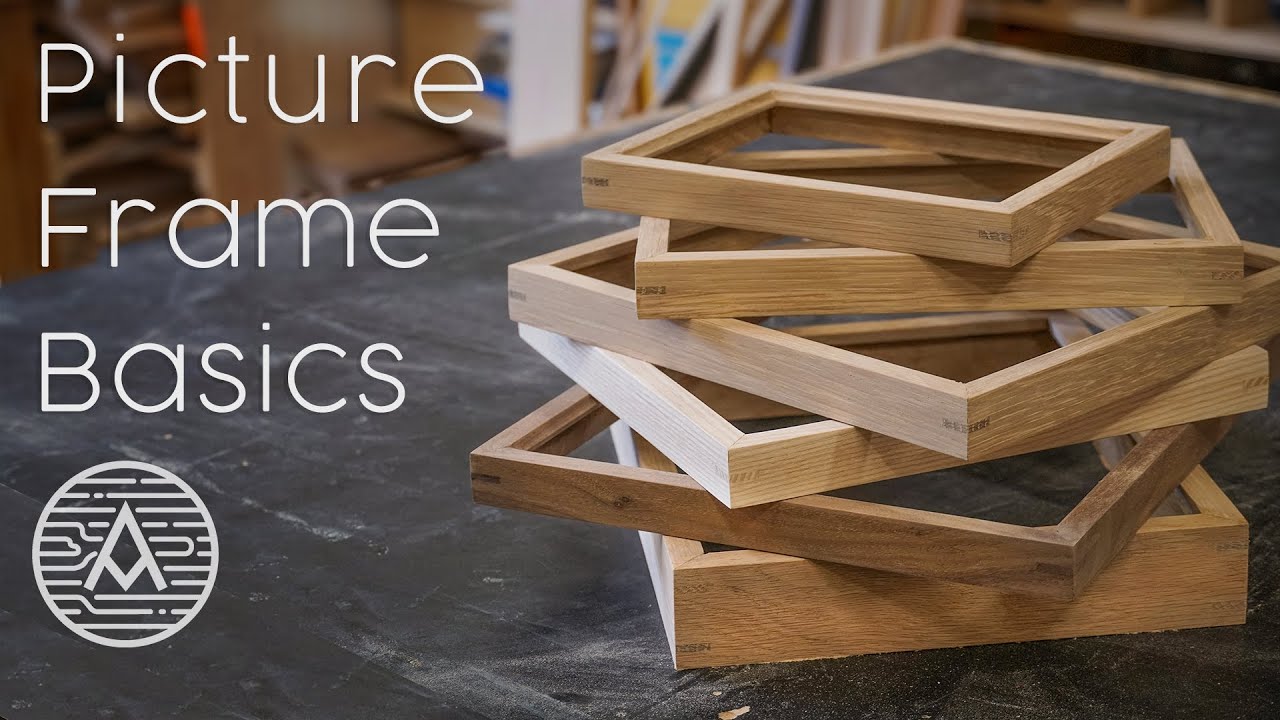
How to Make a Wood Frame
Wood frames are a versatile and stylish option for displaying artwork, photographs, or even mirrors. Making your own wood frame allows you to customize the size, shape, and finish to suit your needs. Follow these step-by-step instructions to create a beautiful wood frame.
Materials Needed
Before you begin, gather the necessary materials to make your wood frame. You will need:
1. Wood boards: Choose a type of wood that suits your aesthetic preference and budget. Common choices include pine, oak, or poplar.
2. Measuring tape: Accurate measurements are crucial for a properly fitting frame.
3. Miter saw or hand saw: This will be used to cut the wood boards to the desired lengths.
4. Sandpaper: Smooth any rough edges or surfaces before assembling the frame.
5. Wood glue: This will be used to secure the joints of the frame.
6. Clamps: Clamps will hold the frame together while the glue dries.
7. Nails or screws: Depending on your preference, you can use nails or screws to reinforce the joints of the frame.
8. Hammer or drill: A hammer will be used to drive in nails, while a drill is necessary for screws.
9. Wood stain or paint: Choose a finish that complements your decor and protects the wood.
10. Paintbrushes or rags: These will be used to apply the stain or paint evenly.
Step 1: Measure and Cut the Wood
Start by measuring and cutting the wood boards to the desired lengths. Use a miter saw or hand saw to make accurate and clean cuts. Remember to account for the width of the frame when measuring the lengths of the boards. It’s important to have two boards for the horizontal sides and two boards for the vertical sides.
Once the boards are cut, use sandpaper to smooth any rough edges or surfaces. This will ensure a professional and polished look for your wood frame.
Step 2: Assemble the Frame

Apply a thin layer of wood glue to the ends of the boards that will be joined together. Carefully position the boards to create the frame shape, making sure the corners are square. Use clamps to hold the frame together firmly while the glue dries.
If desired, you can reinforce the joints with nails or screws. Pre-drill pilot holes to prevent the wood from splitting, then insert the nails or screws using a hammer or drill. This will provide extra stability to your frame.
Step 3: Apply the Finish
Once the frame is assembled and the glue is completely dry, it’s time to apply the finish. Choose a wood stain or paint that matches your decor. Using a paintbrush or rag, apply the finish evenly to all surfaces of the frame. Allow the finish to dry according to the manufacturer’s instructions.
If desired, you can apply multiple coats of finish for a more vibrant color or a deeper sheen. Just make sure to allow each coat to dry completely before applying the next.
Step 4: Mount Your Artwork
After the finish has dried, your wood frame is ready to be used. Place the artwork, photograph, or mirror into the frame and secure it using appropriate mounting methods, such as adhesive strips or brackets.
Ensure that the frame is securely attached to the wall or displayed in a suitable manner to prevent accidents or damage.
By following these steps, you can easily create a wood frame that adds a touch of elegance to any space. Enjoy the process of making your own frame and showcasing your favorite artwork or memories in a personalized way.
Frequently Asked Questions
Here are some commonly asked questions about how to make a wood frame:
Q: What materials do I need to make a wood frame?
To make a wood frame, you will need the following materials:
– Wood boards or planks of your desired size and thickness
– Measuring tape or ruler
– Saw for cutting the wood
– Sandpaper for smoothing the edges
– Wood glue or nails for joining the pieces together
– Clamps to hold the pieces in place while the glue dries (if using glue)
Q: How do I measure and cut the wood for the frame?
Start by measuring the dimensions of the artwork or photo you want to frame. Add an extra inch to both the width and height to allow for a border. Use a measuring tape or ruler to mark the measurements on the wood boards. Then, using a saw, carefully cut along the marked lines. Remember to wear protective goggles and gloves while cutting.
After cutting the pieces, use sandpaper to smooth any rough edges or splinters. This will ensure a clean and professional-looking frame.
Q: How do I join the wood pieces together?
There are two common methods to join the wood pieces together: using wood glue or nails.
If using wood glue, apply a thin layer to the edges of the wood pieces that will be joined. Press the pieces together firmly and use clamps to hold them in place while the glue dries. Follow the instructions on the glue bottle for drying times.
If using nails, align the pieces and use a hammer to drive nails through the edges. Make sure to space the nails evenly and sink them slightly below the surface of the wood. You can then fill the nail holes with wood putty and sand them down for a smooth finish.
Q: How do I finish and decorate the wood frame?
After the frame is assembled, you can choose to leave it as is for a natural wood look or apply a finish to protect and enhance its appearance.
For a natural look, you can apply a clear varnish or sealant. This will protect the wood from moisture and make it easier to clean. Apply the varnish or sealant according to the manufacturer’s instructions and allow it to dry completely.
If you prefer a different finish, such as painting or staining, make sure to apply it before joining the wood pieces together. This will ensure an even application and prevent any unwanted paint or stain on the artwork or photo.
Q: How do I hang the wood frame on a wall?
To hang the wood frame on a wall, you will need picture hanging hardware such as D-ring hangers or sawtooth hangers. Attach the hardware to the back of the frame using screws or nails, making sure they are securely fastened.
Measure and mark the desired location on the wall, ensuring it is level. Use a drill or hammer and nails to attach the frame securely to the wall. Alternatively, you can use adhesive hooks or strips designed for hanging frames without damaging the wall surface.
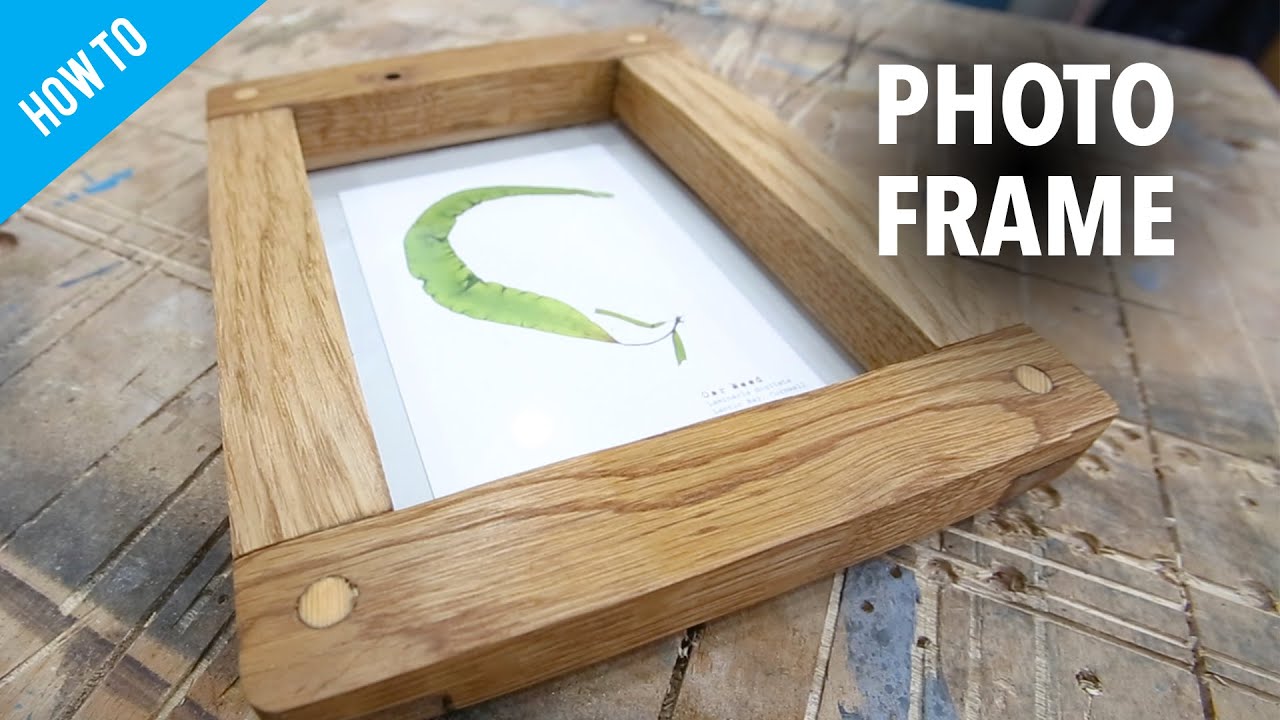
How to make a very simple wooden frame
In conclusion, learning how to make a wood frame is a valuable skill that can bring a sense of satisfaction and pride. By following the step-by-step process outlined in this guide, individuals can create custom frames that perfectly showcase their cherished photographs or artwork. Not only does making a wood frame allow for personalization, but it also offers a cost-effective alternative to store-bought frames.
Furthermore, the art of crafting a wood frame provides an opportunity for creative expression. With various types of wood and finishes to choose from, individuals can experiment with different styles and designs, making each frame a unique piece of art in itself. Whether you are a beginner or an experienced woodworker, the process of making a wood frame can be both fulfilling and enjoyable, allowing you to enhance the presentation of your most treasured memories.
So, why settle for generic frames when you can create your own stunning wood frames? With practice and patience, you can master this craft and add a touch of elegance to your home or office. Embrace the art of woodworking and start making your own wood frames today.
- How to Waterproof Mdf Wood - May 10, 2024
- How to Seal Mdf Wood - May 10, 2024
- How to Waterproof a Plywood Roof - May 10, 2024